Featured

Quilted Greeting Cards

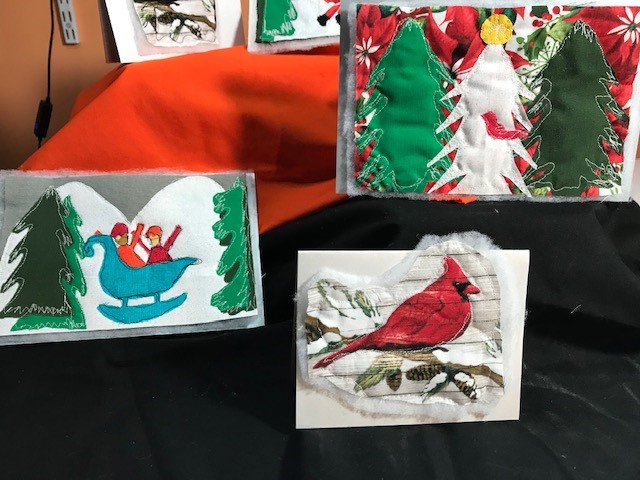
I decided to make quilted holiday cards this year. This is a DIY that you can use for greeting cards throughout the year. Now is also a good time to catch a sale on holiday fabric for Thanksgiving and Christmas.

What you will need:

-Fabric with or without already designed images for use.

-Scissors

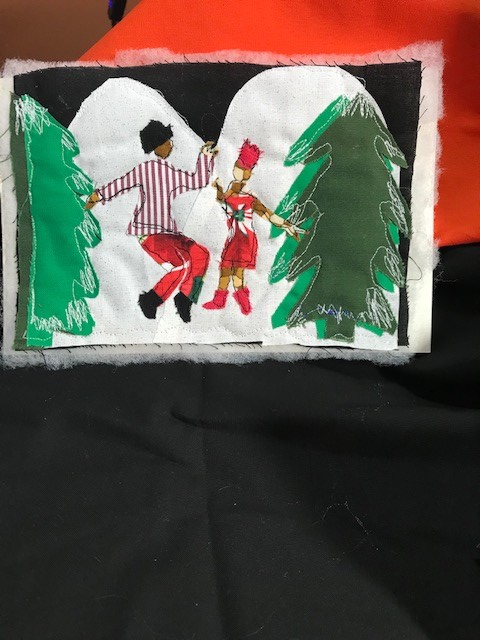
-Pictures for images (note, for the lady and man dancing, I used photo images from pinterest as templates).

-Glue ( fabric glue or childrens glue), Steam a Seam or some time of iron-on stabilizer.

-Sewing machine

-Batting

-Card stock paper

Using my regular HP printer, I printed a message in the card. You can always leave the card blank if you plan to write a message. I used 8 1/2 x 11 inch card stock and folded it in half. If you are making smaller cards, once folded, you can then cut them in half for two cards.

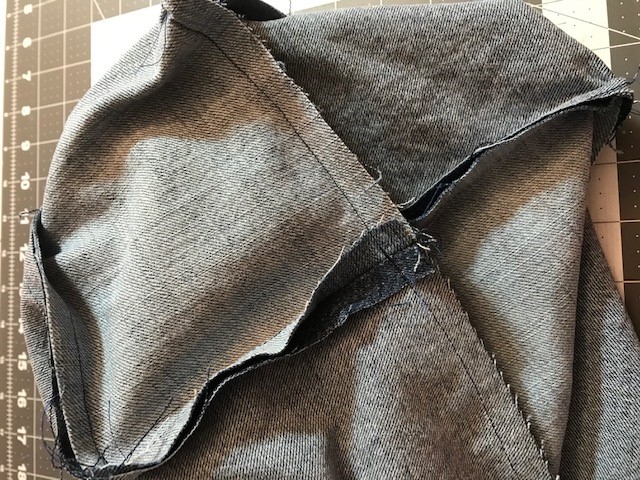
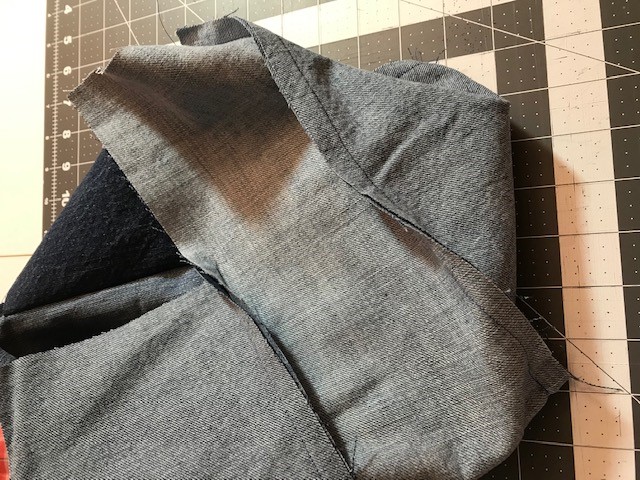
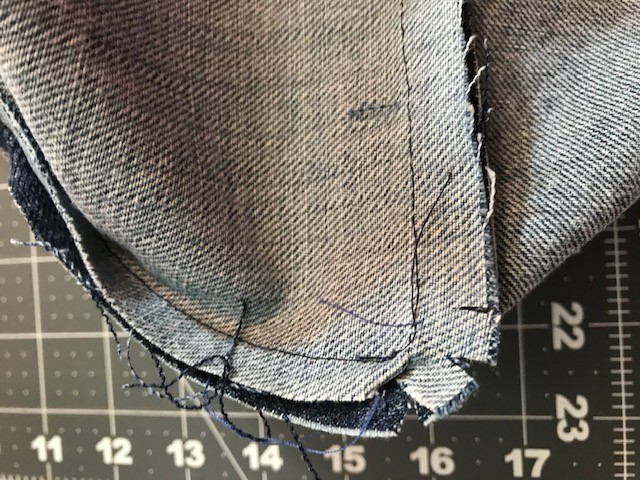
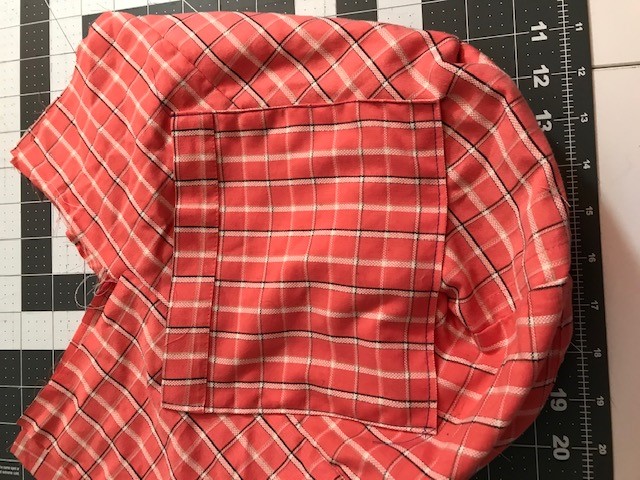
I decided on a design for the cards and decided to draw the templates on paper. I used the paper to cut out the fabric pieces. The cardinal, is from fabric that had various cardinal birds already on it.

Cut a piece of background fabric a quarter inch smaller than the front of the card. Cut the batting the exact size of the front of the card so the batting is a little larger than the background fabric.

Lay out your pieces on the background fabric until you are happy with the design, then glue them lightly and let the glue fully dry. I set a large book on top of it overnight while it dried.

Once the picture is dry on the fabric, I put it on top of the batting and used the free-motion sewing matching stitching to outline the images while stitching them to the batting.

Glue the fabric picture/batting to the card with a stronger holding glue but use then layers so that it does not soak through the card. Let dry overnight.

There you have it. Have fun with this and make Birthday cards or holiday cards throughout the year. People will love this keepsake card.

If you make quilted cards, please share pictures. I would love to see your designs!!

Featured

Fanny Skirt/Walking – Running half skirt

Okay, so I am on a mission to get healthier and started a daily 2 mile walk. However, though the spandex athletic pant is nice, I can be self conscious about wearing it in different situations. I often tie a jacket around my waist, but the jacket is heavy and a distraction for me. Soooo, I designed a half skirt to cover my fanny that I call the “Fanny Skirt.” If you are a person who wears long shirts over spandex pants, a sweater or jacket tied around your waist, or heavy loose pants to hide your fanny–consider making yourself a Fanny Skirt. Instructions are below and I have a helpful video. If you make a skirt, please share photos with me. I would love to see your version.

Fanny Skirt Instructions: (I know some are visual and this would be better with photos, but oops, I forgot to take pictures. I do have video if you need it.

  • Tools Needed: 2-3 t-shirts, measuring tools, fabric scissors, needle, thread, straight pins, sewing matching (unless you choose to sew by hand), seam ripper.
  • Measure on your body from your waist down to the length that you would like.
  • Line up the bottom of the shirt that you would like to be your skirt. You may want to pin the bottom front and back together to keep it straight.
  • Measure from the bottom of the skirt to where you want the waist. Allow 1/2 inch seam allowance ( if you want it 15 inches, cut at 15 1/2 inches).
  • Cut the t-shirt where the waist of the skirt will be. At this time determine where you want the skirt to stop once you wrap it around your waist. At the side or towards the front. It is meant to be open in the front. If needed, you can cut another t-shirt the same and add to the width of the skirt by sewing additional material to the sides.
  • If your t-shirt has side seams, cut a straight line up (bottom to waist) the center of the skirt portion that you just cut. Fold it in half and mark the center back of the skirt.
  • Use a tape measure to measure your waist and determine how long your waist binding needs to be and how much more you will need to tie a bow.
  • Take the other t-shirt and cut (2) strips, 2 1/2 wide across the t-shirt (side to side). You will have a (2) 2 1/2 inch loops after cutting, cut each loop in half along the short length. This is the binding/belt for your skirt. When the two strips are sewn together, they should be long enough to wrap around your waist and to tie a bow.
  • Sew the two former loops that are now strips together on the short ends (this will make the belt and binding for the skirt).
  • Baste stich (use a wide stich) across the top (waist) of the skirt (the cut end). Leave a long tail on your stiches at both ends. The already hemmed bottom of the t-shirt will be the bottom of the skirt.
  • Pull the thread tails at both sides of the skirt to form gathers (to your liking).
  • Place the center of the binding/belt at the center back with right sides together. Pin it in place.
  • Stitch at 1/2 inch across the belt binding sewing it to the skirt.
  • Turn the binding down to the inside of the skirt, and stitch it across the skirt right below the seam that you just stitched. (note, t-shirt fabric does not typically unravel, but you can turn under the edge before sewing down for a cleaner finish).
  • Turn the ends of the belt inside and stitch down.
  • Line up the belt seams and stitch them down with a top stitch.
  • That is it! You just made your Fanny Skirt!!! If you made it so it comes further to the front, you can also add an athletic stripe on the side or pockets.
  • I also suggest that you watch the video prior to starting this project. video link: https://youtu.be/x4jNnX69bNk

Thanks for visiting my blog and don’t forget to subscribe so that you always receive the latest updates.

Featured

New Twist on Hobo Bag

I first made this bag a few years ago for a friend. I loved it at the time, but just did not take the time to make one for me. Well, my husband gave me some old jeans and here we are. I found this pattern on Pinterest, posted by another blogger, “handmadiya.” This is the second diy holiday gift posting and the first of three different size bags using the same pattern.

Supplies:

  • Fabric for outer bag and lining, scissors, sewing matching, some type of clasp to close the bag. I used a large Button for this one, vinyl fabric for handles (optional), or extra fabric for handles
  • I used an old man’s shirt for lining and denim jeans for outer fabric. I recommend a heavier fabric for the bag like a canvas, denim, vinyl. The lining can be lighter weight
  • Cut 2 pieces each 6×18 inches. If using contrasting fabric for bag cut 2 of each fabric
  • Cut 4 pieces each 6×18 of lining, also cut out square lining fabric if you want to include pockets

Sew the contrasting fabrics and the lining as you see above. Right sides together, 5/8 seam allowance. Sew the bottom first.

Sew up the sides seams. Do the same for the lining fabric.

  • Press all seams open
  • Clip curved seams but do not cut through threads
  • If adding pockets, turn the bags right side out and lay out where you want the pockets. Allow for 5/8 seam allowance. I added a side pocket for cell phone, but allowed for the 5/8 seam allowance at the top of the bag
  • Sew pockets on right side of bags, stitch close to the pocket edge
  • Place lining inside bag, right sides together. Make sure that your pocket is facing back or front of bag to your liking
  • Pin lining to bag, right sides facing each other
  • Sew lining to bag at 5/8 seam allowance. Leave a 2-3 inch opening to turn your bag right side out. If you have added a hook piece of fabric to use as a closure, make sure it is facing inside the bag so that when you turn the bag right side out, it will be outside
  • After stitching, clip the fabric at the 4 peaks but do not cut through the thread. Then turn the bag right side out, using a tool to make sure the peaks are pushed out
  • Press the bag. You can top stitch around the top of the bag and stitch the opening close, or you can hand stitch the opening close
  • Add your closures. If using a button, place it and make sure closure loop lines up
  • Select fabric for handles

I used a vinyl fabric from JoAnn’s. You can also use fabric that you are making the bag out of. If using denim, make sure that you use a heavy duty needle in your sewing machine. Once you fold over the handle, it will need to penetrate four layers of fabric.

Please share photos if you decide to make this hobo bag. I love it!!!

To receive notifications, please subscribe below. Stay tuned for two additional bag photos using the same pattern.

DIY Holiday Gifts

I am beginning my blog with three easy DIY gifts that you can create now on a budget. I will present them in a 3 part series.

The first is a lingerie or fine garment bag that can be used for travel or storing fine garments in a drawer. See the picture below and gather supplies to get started.

The supplies needed are

  • pillow cases, use the thrift store, or Dollar Tree (has satin pillow cases). You may get lucky and find king size pillow cases which provide larger bags
  • Scissors/Shears for cutting fabric.
  • Fabric glue that is permanent and will not wash out (I used Sew Magic)
  • A sewing machine, matching thread
  • Tape measure or yard stick ruller
  • nice to have a rotary cutter but if you don’t you can use scissors.
  • Pins
  • Dye if you only locate white pillow cases but want them another color.

The post can be short or long, a personal intro to your life or a bloggy mission statement, a manifesto for the future or a simple outline of your the types of things you hope to publish.

To help you get started, here are a few questions:

  • Why are you blogging publicly, rather than keeping a personal journal?
  • What topics do you think you’ll write about?
  • Who would you love to connect with via your blog?
  • If you blog successfully throughout the next year, what would you hope to have accomplished?

Can’t think how to get started? Just write the first thing that pops into your head. Anne Lamott, author of a book on writing we love, says that you need to give yourself permission to write a “crappy first draft”. Anne makes a great point — just start writing, and worry about editing it later.

When you’re ready to publish, give your post three to five tags that describe your blog’s focus — writing, photography, fiction, parenting, food, cars, movies, sports, whatever. These tags will help others who care about your topics find you in the Reader. Make sure one of the tags is “zerotohero,” so other new bloggers can find you, too.

You’re not locked into any of this; one of the wonderful things about blogs is how they constantly evolve as we learn, grow, and interact with one another — but it’s good to know where and why you started, and articulating your goals may just give you a few other post ideas.